
Wellness Cooking
Ahead of her new book, cook Melissa Hemsleys shares some of her favourite recipes inspired by her Filipino heritage.
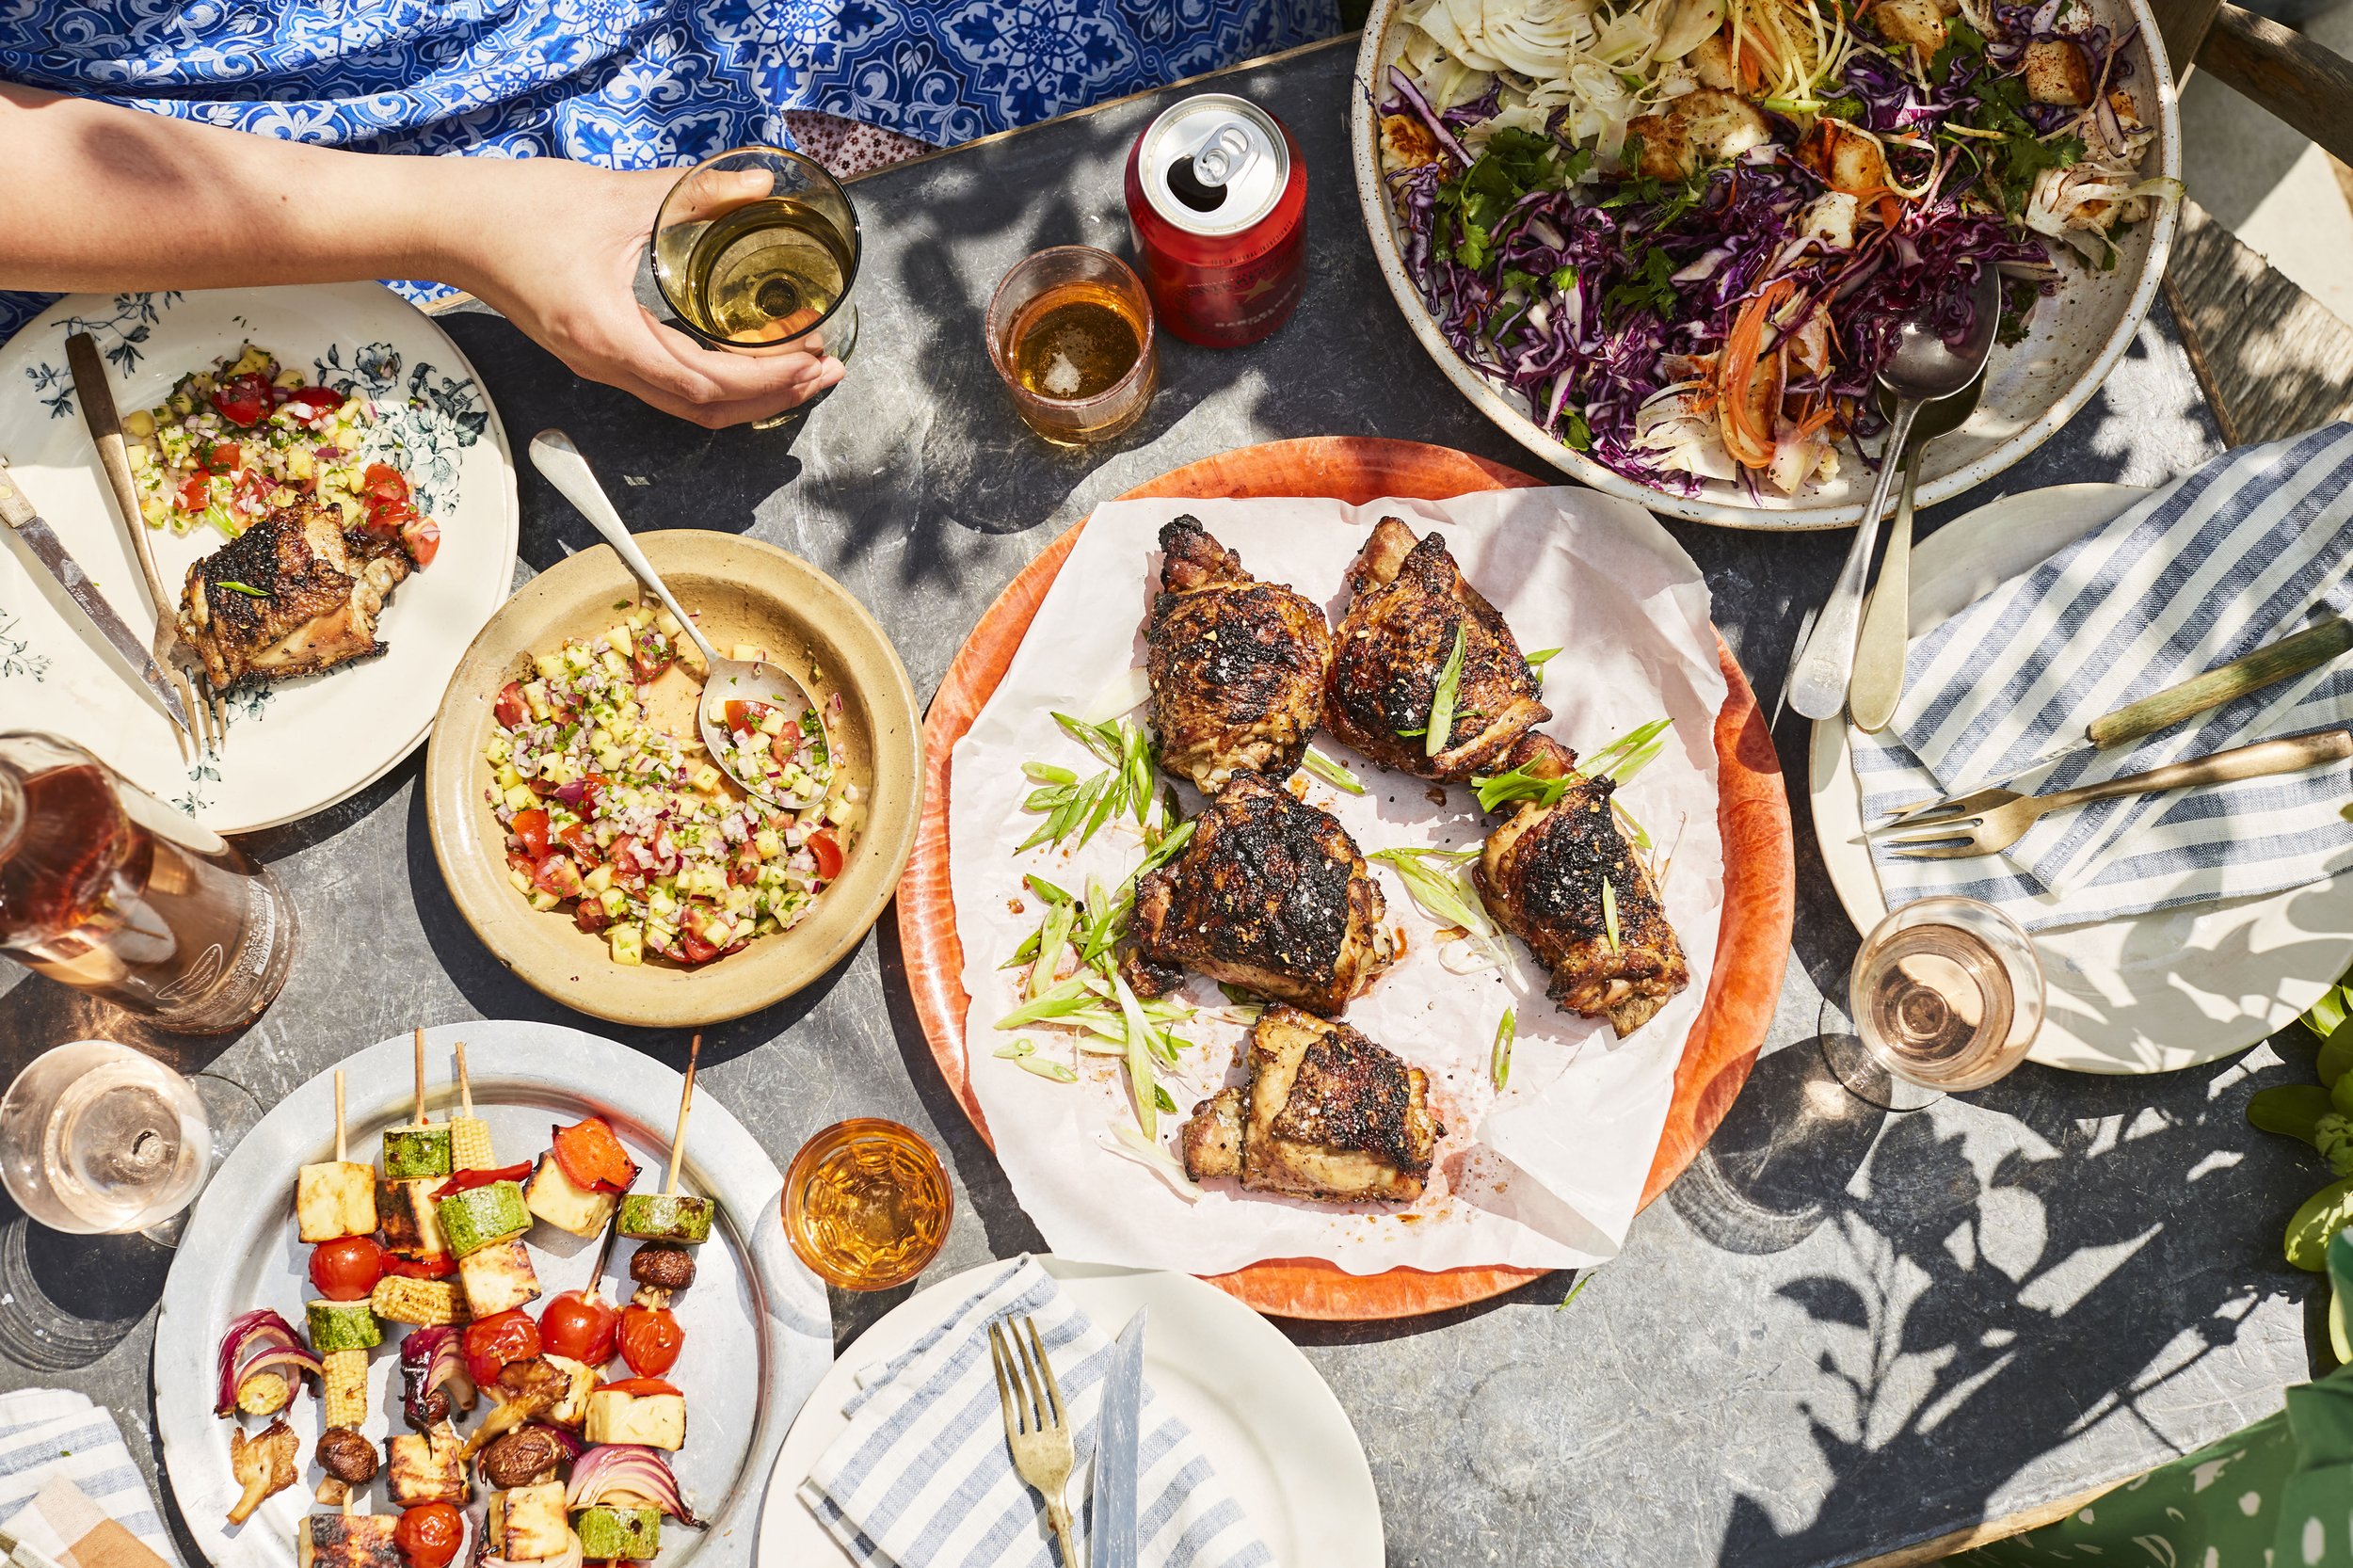
Filipino Chicken With Mango-Tomato Salsa
“My mum calls this ‘any way chicken’ because you can make the chicken any way: I like cooking it in the oven (so I can forget about it); my mum likes to make it on the hob (to keep more of the sauce); and my boyfriend, Henry, likes grilling it on the BBQ (so it’s smoky and crispy). However you do it, I recommend making extra so that you can shred it into soups, wraps, noodles and salads later in the week.”
SERVES 4-6
INGREDIENTS:
∂ 4 large chicken thighs, skin on and bone in
(about 600g)
∂ Sea salt and black pepper
∂ 2 spring onions, finely sliced at an angle, to serve
FOR THE FILIPINO-STYLE SAUCE:
∂ 3 garlic cloves, finely chopped
∂ 4tbsp apple cider vinegar
∂ 2tbsp tamari or soy sauce
∂ 2tsp–1tbsp fish sauce or 2tsp extra tamari or soy sauce
∂ 2tbsp (coconut) sugar or maple syrup
∂ 2 star anise
∂ ¼tsp chilli flakes (or to taste)
FOR THE MANGO-TOMATO SALSA:
∂ 1 big handful of fresh coriander
∂ 100g cherry tomatoes, quartered
∂ 100g peeled ripe mango, pineapple or stone fruit, diced
∂ 2cm fresh ginger, finely grated
∂ ½ garlic clove, finely grated
∂ 1 jalapeño or other chilli, deseeded and diced
∂ Juice of 1½ limes
∂ 4 spring onions or 1 small red onion, finely diced
∂ 2tbsp extra-virgin olive oil
∂ A dash of hot sauce (optional)
METHOD:
1 Preheat the oven to fan 220°C/gas mark 9. If using a BBQ, get it going now.
2 Mix all the sauce ingredients together. Place the chicken thighs in an ovenproof dish big enough to arrange the pieces about two centimetres apart (but not so big that you lose all the sauce as it cooks off in the oven), then add the sauce, coating each piece of chicken well in the mixture and leave for a few minutes, if you like.
3 Place the chicken thighs skin-side up in the dish, sprinkle a little salt and pepper over each one and roast for 25 minutes or until well cooked and the juices run clear when pierced with a knife.
4 Meanwhile, make the salsa. Roughly chop the leaves of the coriander and finely chop the stalks, then add to a serving bowl with all the other ingredients, mix together well and leave to sit for 20 minutes (while the chicken is cooking).
5 Serve the chicken scattered with the spring onions and with the salsa on the side.
Fried Halloumi And Chickpea Rainbow Salad
“Definitely make this! It’s also delicious stuffed into a wrap, or served with rice or quinoa. Halloumi needs to be served straight away, so make this fresh. Swap the halloumi for paneer, or use extra-firm tofu, patted dry, for a plant-based version of this dish.”

SERVES 2
INGREDIENTS:
∂ 2tbsp ghee or coconut oil
∂ 400g tin of chickpeas, drained and rinsed
∂ 4tsp garam masala
∂ 2tsp ground cumin
∂ 225g halloumi, cut into small cubes
∂ 2tsp maple syrup
∂ Sea salt and pepper
FOR THE SALAD:
∂ A little diced red onion or chopped spring onions
∂ 1 large carrot, scrubbed and roughly grated
∂ 1 handful of diced ripe tomatoes
FOR THE CASHEW-CORIANDER-MINT CHUTNEY (makes double):
∂ 4tbsp cashews or other nuts
4 handfuls of fresh coriander
2 small handful of fresh mint leaves
2 fresh green chilli, deseeded if you prefer,
chopped, or a good pinch of chilli flakes
½tsp ground cumin
Juice of 3 limes
4tbsp olive oil
METHOD:
1 Prepare the salad and arrange in two bowls.
2 Heat up a large frying pan and toast the cashews for the chutney on a medium heat for three to four minutes, tossing halfway through, until lightly golden, then tip half of them into the small bowl of a food processor and save the rest for garnishing.
3 Put the pan back on the heat, melt one and a half tablespoons of the ghee and fry the chickpeas (making sure they are dried well in a tea towel before so they don’t spit in the hot oil) on a medium heat for four minutes with half of the spices and a pinch of salt, stirring every now and then. Tip into a bowl, scraping out the delicious bits from the bottom of the pan as you go.
4 While the chickpeas are frying, add all the other chutney ingredients to the food processor – saving a few herbs for garnishing, if you like – along with about three tablespoons of water, then blend together, seasoning to taste with salt and pepper.
5 Put the pan back on the heat with the rest of the ghee and, when melted, fry the halloumi on a medium heat for about two minutes on the first side on (keep the pieces of halloumi spaced out) and then turn, sprinkle over the rest of the spices and fry for about one minute on the other side until lightly golden brown and crispy at the edges. Straight away add the fried chickpeas and the maple syrup, then toss together with the halloumi and fry for 30 seconds so that the chickpeas warm through and the maple syrup bubbles and thickens.
6 Scatter the chickpeas over the bowls of salad with the halloumi on top, drizzle over half of the chutney and top with the remaining nuts.
No-Bake Chewy Nutty Bars
“Any nuts and seeds work in these delicious bars. I’ve made them with just hazelnuts before for a lovely praline flavour. You might like to swap the vanilla extract for a dash of peppermint or orange extract, or add a bit of rum and a few raisins or some toasted coconut flakes. ‑ ese are best served straight from the fridge for the ultimate chewiness!”

MAKES 16
INGREDIENTS:
150g mixed whole walnuts, hazelnuts and almonds, roughly chopped
200g dark (50 per cent -70 per cent) chocolate, broken into squares
5tbsp coconut oil
240g pitted Medjool dates
200g ground almonds
2tsp vanilla extract
½tsp sea salt
80g roughly chopped pistachios (or pumpkin seeds), for topping
METHOD:
1 Start by toasting the whole nuts (not the pistachios) for five minutes in a large frying pan on a medium heat until fragrant and just going golden. Toss them in the pan as they cook and watch them like a hawk after three minutes!
2 Next, set up a bain-marie: place a heatproof bowl on top of a small saucepan of simmering water (making sure the base of the bowl does not touch the water), add the chocolate and two tablespoons of the coconut oil and leave to melt until smooth, stirring from time to time. Once melted, set aside to cool slightly.
3 Add the dates, ground almonds, vanilla, remaining coconut oil and salt to a food processor and pulse until combined and dough-like. Add 50 grams of the toasted nuts (roughly a third, it doesn’t need to be exact) and pulse again briefly until roughly ground but still with some slightly larger bits, and then turn off the machine and stir in the pistachios or pumpkin seeds to make a nice balance of squidgy dough and crunchy nuts and seeds.
4 Line a rectangular tin about 25 centimetres × 20 centimetres and four centimetres deep – and transfer the mixture from the food processor to the tin. Press down really well with your hands to make a nice and flat, compact layer.
5 To finish, pour the glossy melted chocolate mix on top to create a thick layer, using a spatula to get every last lovely drop out of the bowl. Scatter with the rest of the toasted nuts and the chopped pistachios and pop in the fridge for three hours, until the chocolate layer is nice and hard, which makes it easy to slice and lovely to chew.
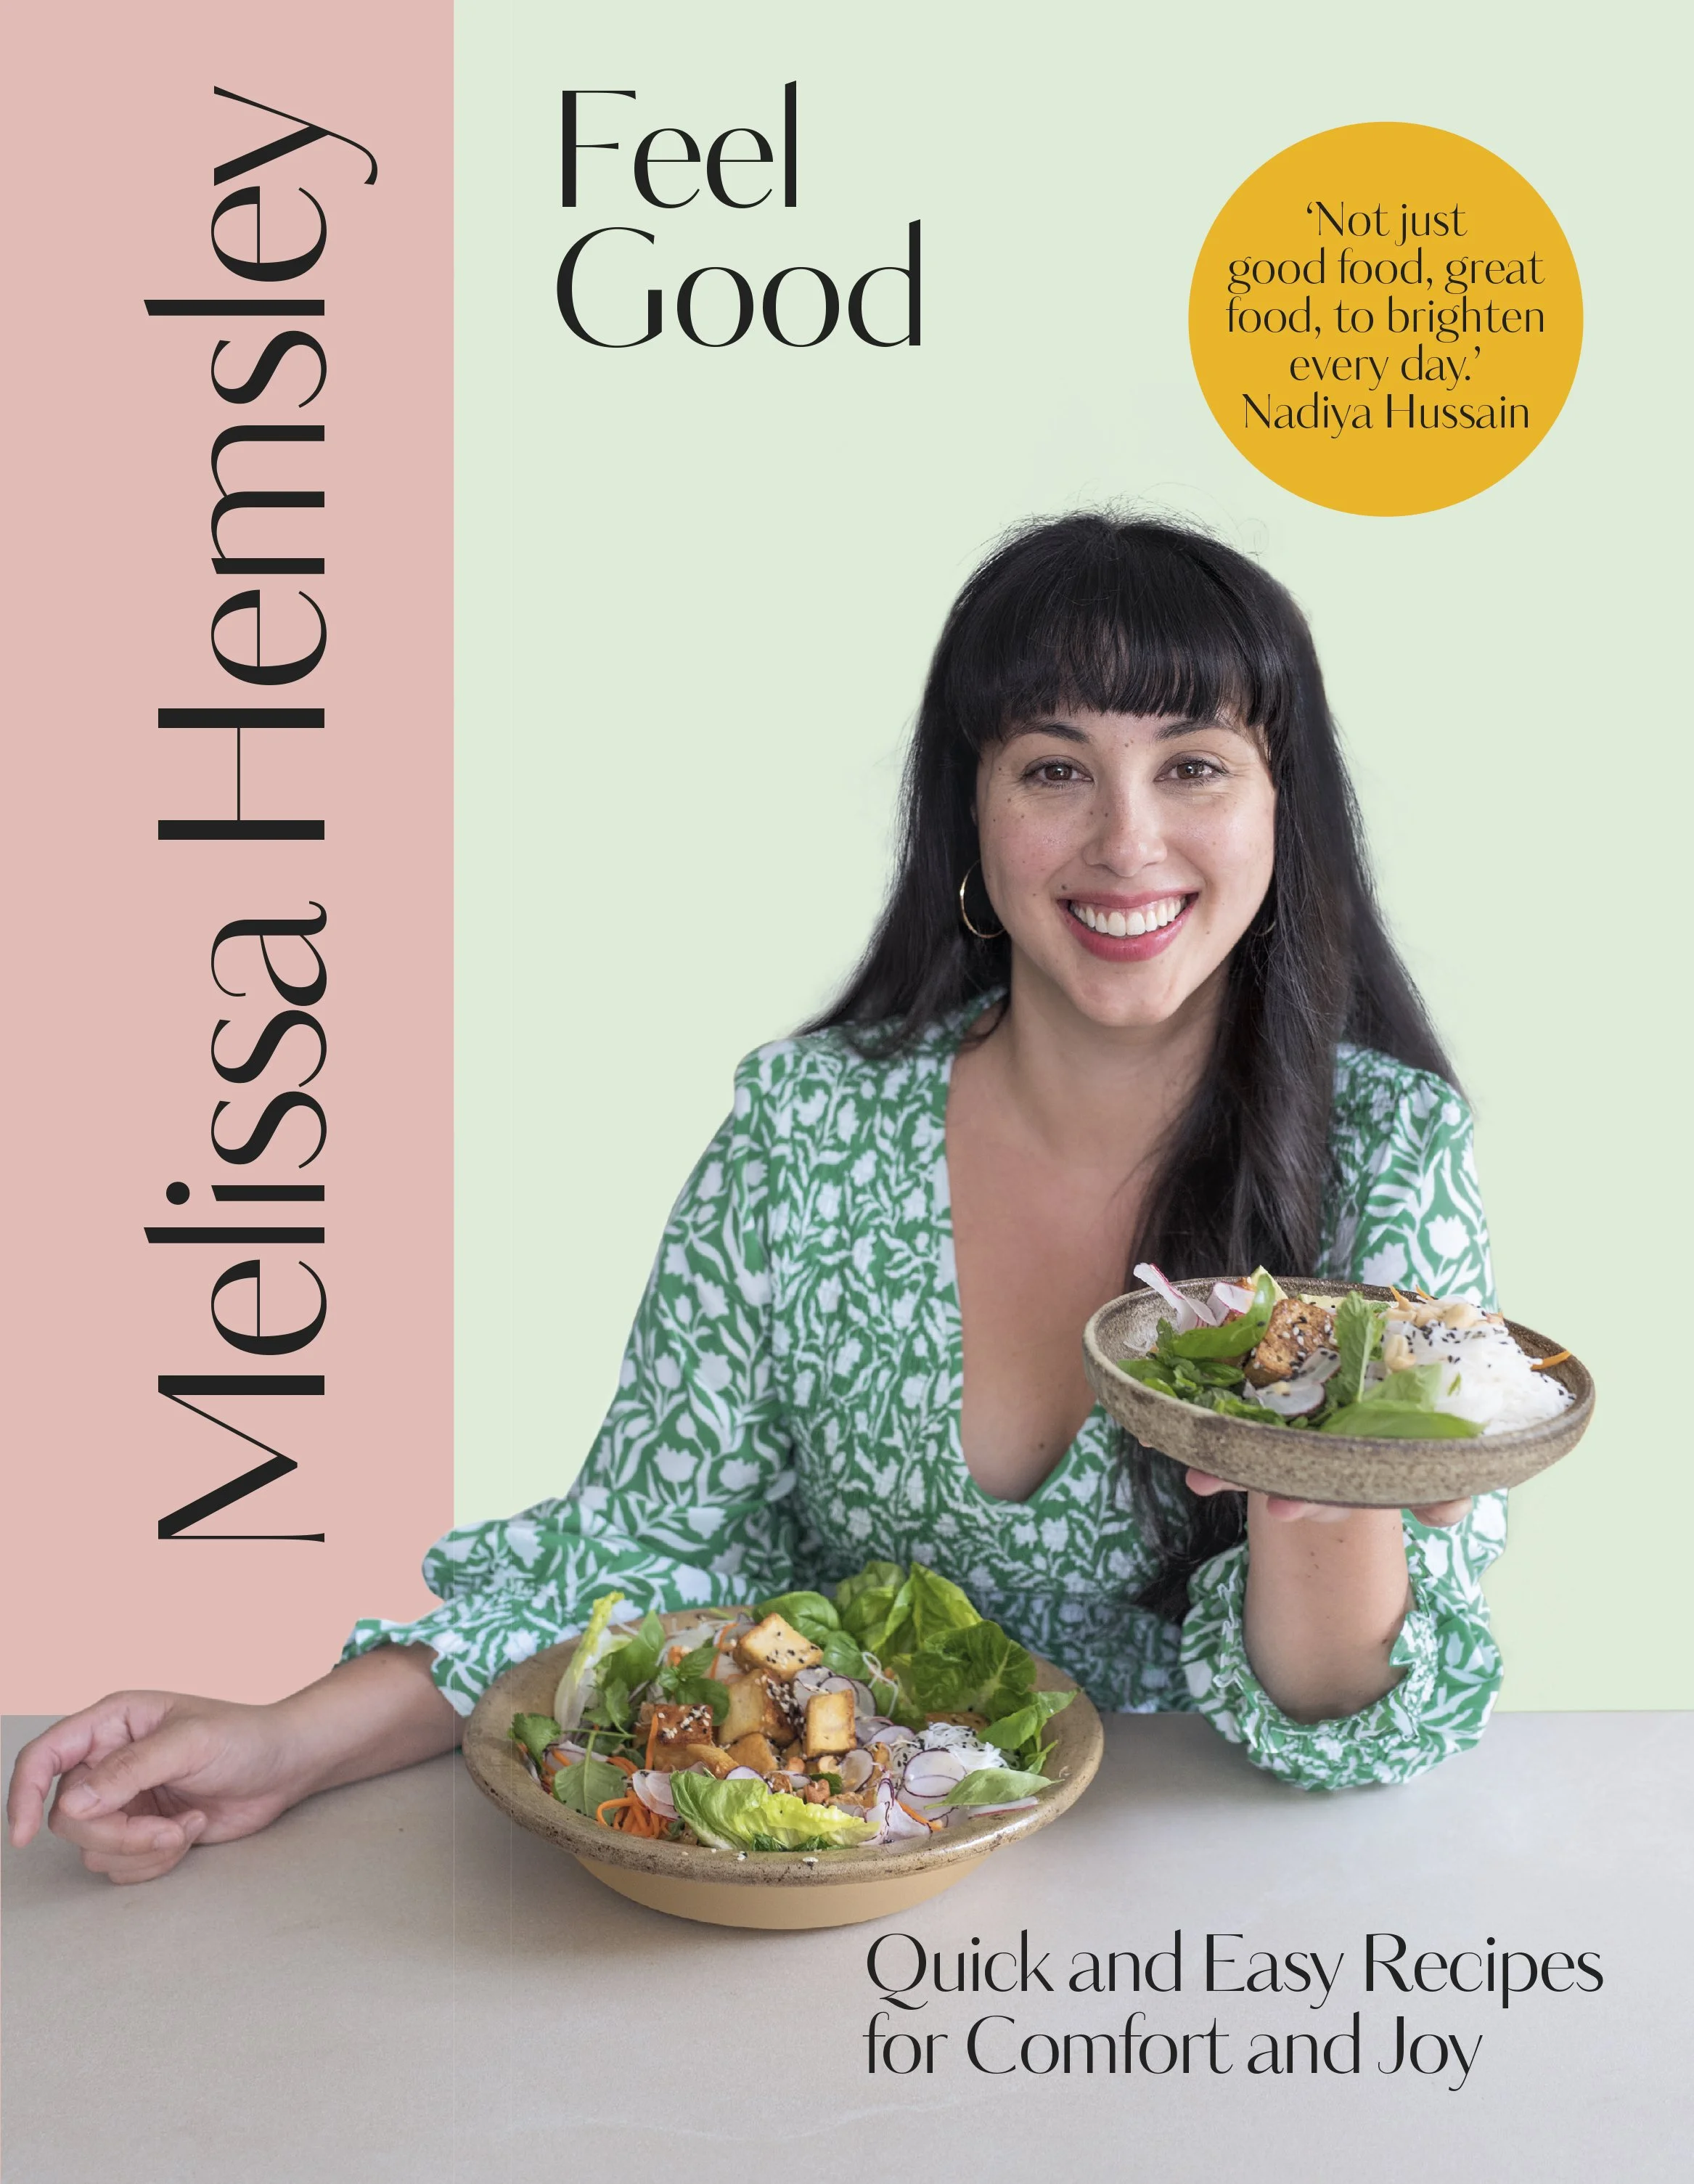
Feel Good by Melissa Hemsley (Ebury Press) photography by Lizzie Mayson. Available now
6 Bring the tin out of the fridge for 10 minutes before slicing into 16 squares. Keep stored in the fridge. These will last for a few weeks in a sealed container.
Follow us on Instagram